Bohemian Rhapsody

No, I’m not talking about the song by Queen…I’m talking about this whimsical boho wall tapestry. I’ve been seeing so many of these cute yarn wall hangings all over home & style blogs, and I’ve been wanting one for my own home. I mean, how cute are these for perhaps a reading nook, a kid’s room, an entryway, your own quiet space, or even a vacation home? I looked into buying one, but found them to be a bit too pricey for what I wanted to spend. Soooooo, I decided to make my own, for under $20, and you can too! Read on!
Find Your Inspiration
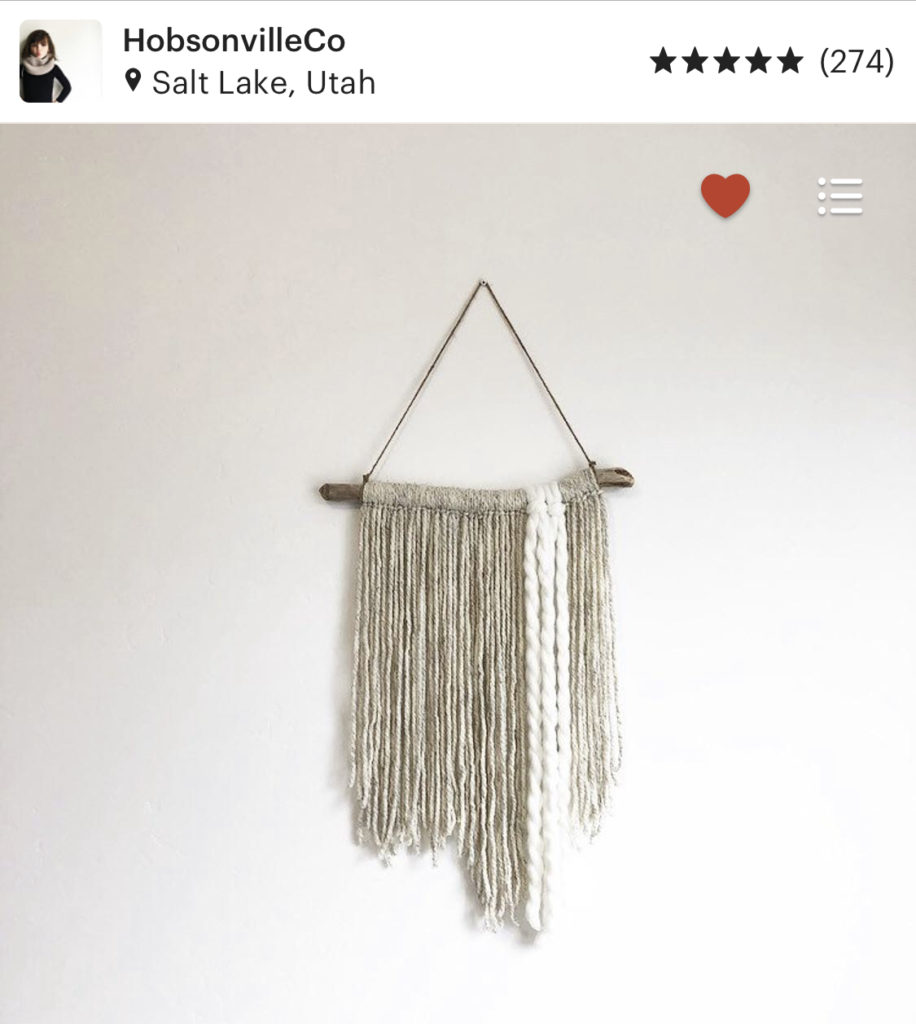
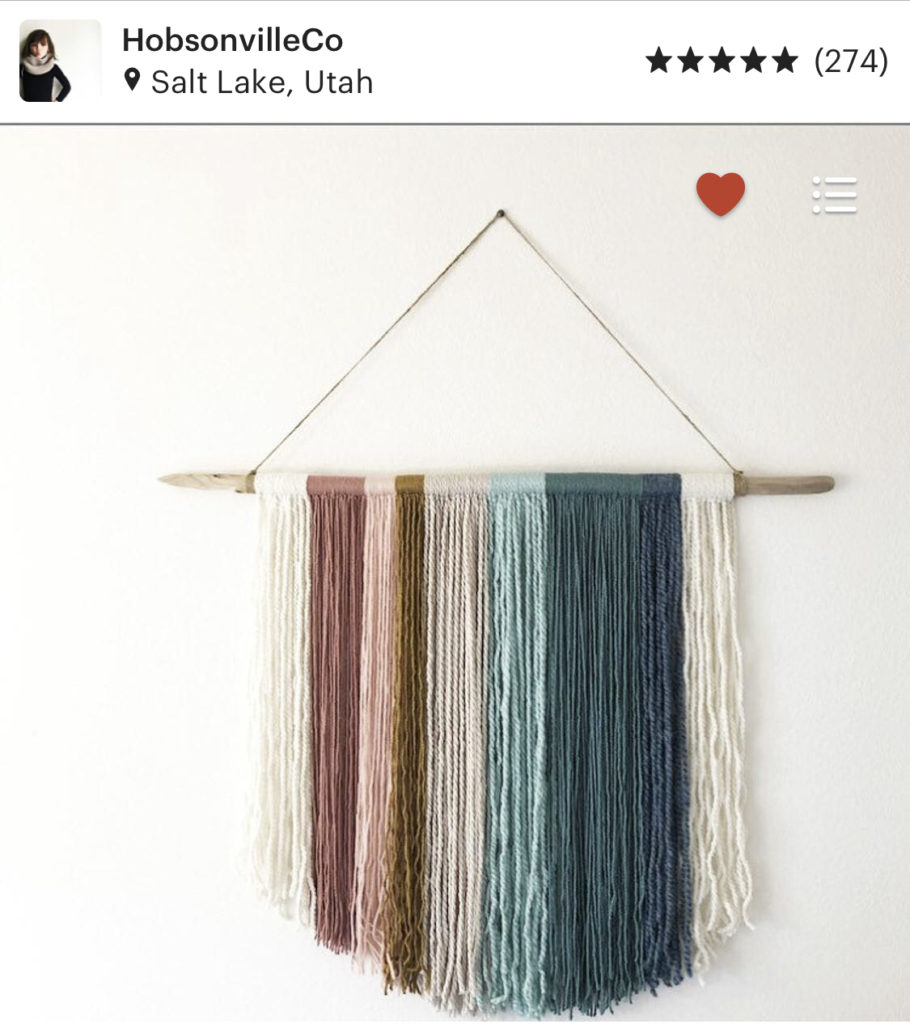
I started searching for designs, styles and colors I liked; and visualized a space where I would like to proudly display my work. For me, I searched Etsy and Instagram to gather my ideas together. Here are a few examples I love…

Once I had my thoughts in order, I was ready to find my materials and make a trip to the craft store.
Gather Materials
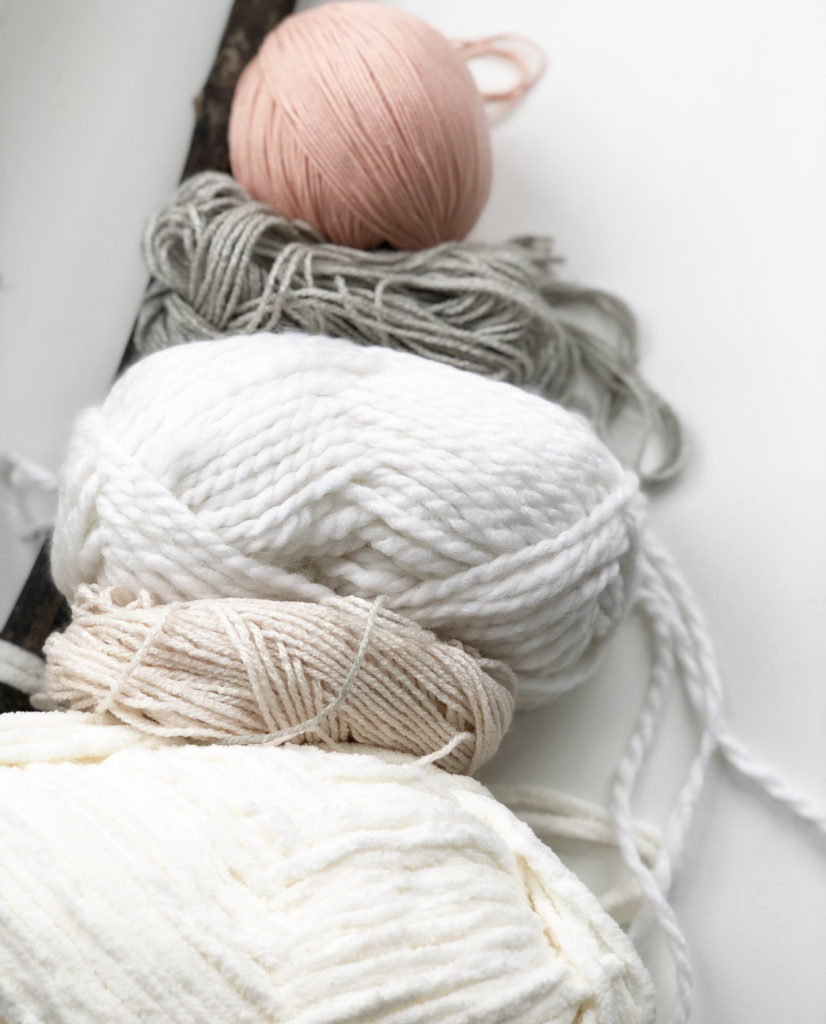
It’s always a good idea to get outside and take a walk, am I right? I didn’t have to walk too far (as I have many wooded areas nearby), to find just the right wooden stick to wrap my yarn. I wanted my tapestry to be a decent size, so this wooden stick was about 3 feet long. As for the yarn, any local craft store will do nicely.
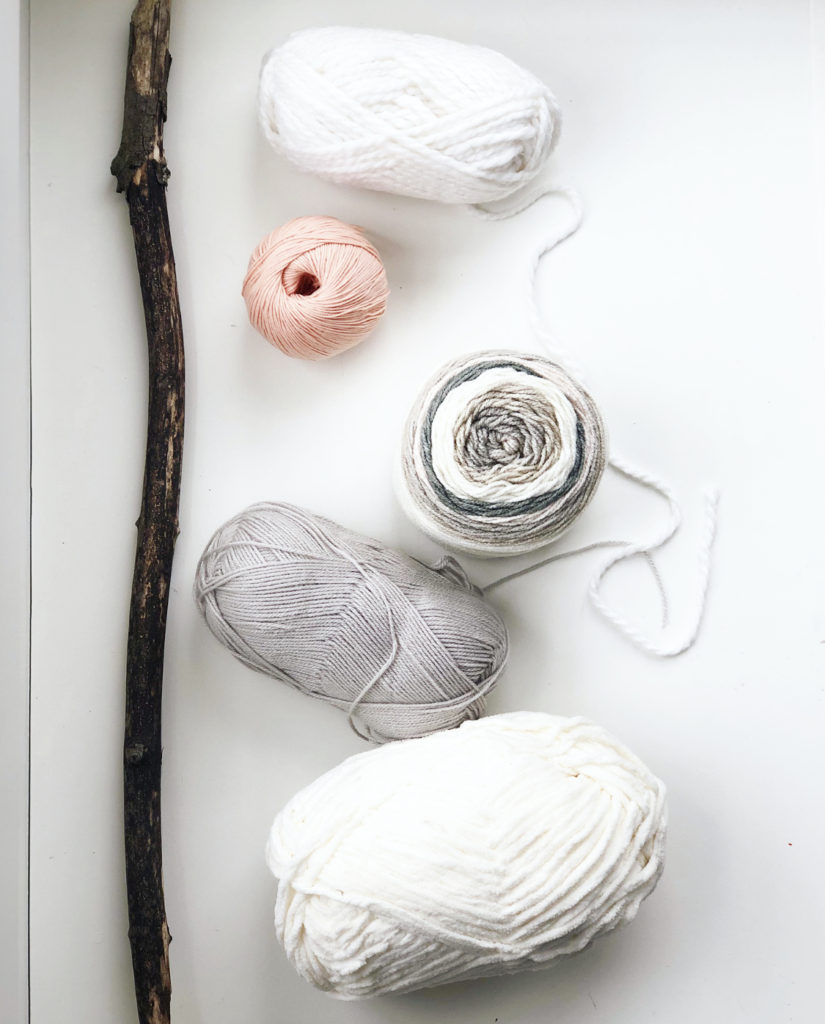
I noticed that many other beautiful wall hangings used a variety of yarn styles with a variety of thickness – it really added to the overall look, giving it more depth and composition. I ended up purchasing peach, cream and gray hues. I bought 5 balls of yarn, costing me about $18 (I caught an after Christmas sale – score!)
Visualize
Visualize the color pattern you would like. Refer to your inspiration photos for reference. Maybe group together the bolder colors, and keep the softer colors grouped together. I found it helpful to literally layout my yarn in a color pattern and flow that I liked.
Get Ready To Cut And Tie
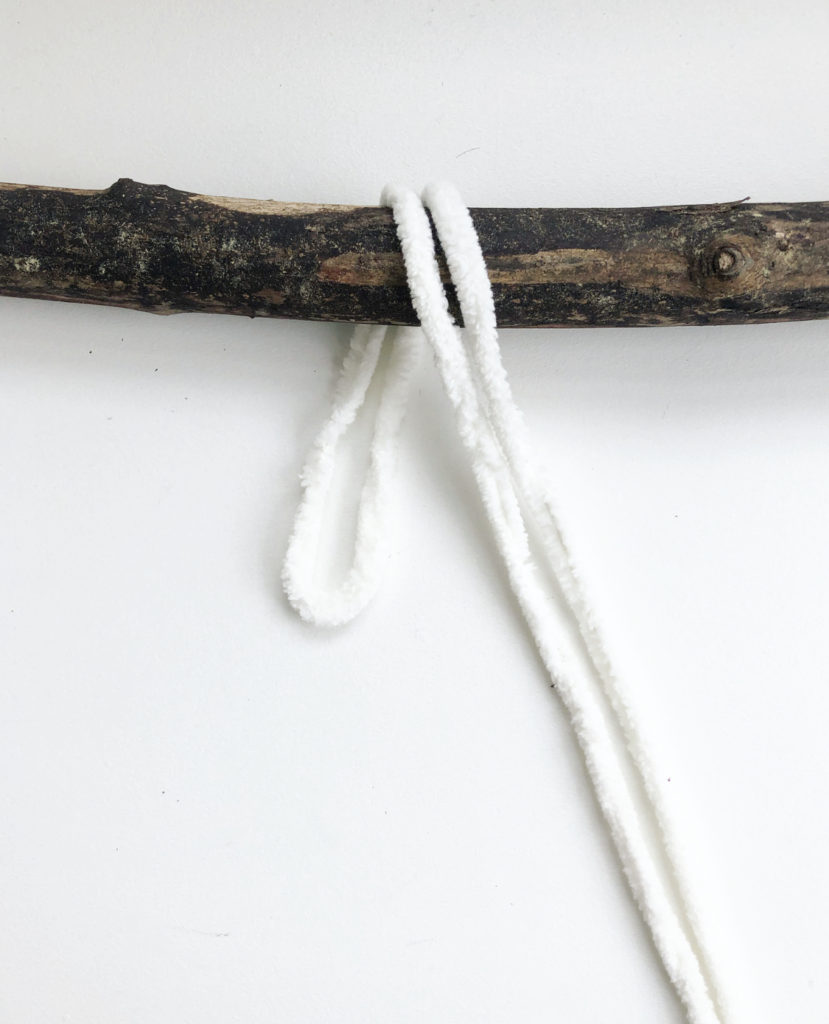
If you are not sure of the overall finished look – for example, if you want a straight edged bottom, a curved bottom, or a jagged bottom – then cut your yarn a nice, long length so you can decide that later. Better to be too long than too short. For me, I found it easier to start yarn ties in the middle and on the end of my stick, so I could be as symmetrical and balanced as possible with my layout.

Then, I just started with my ties, which are very simple. You bend your yarn strand in half; loop it around the top of your stick; guide the longer strand through the loop, and pull.

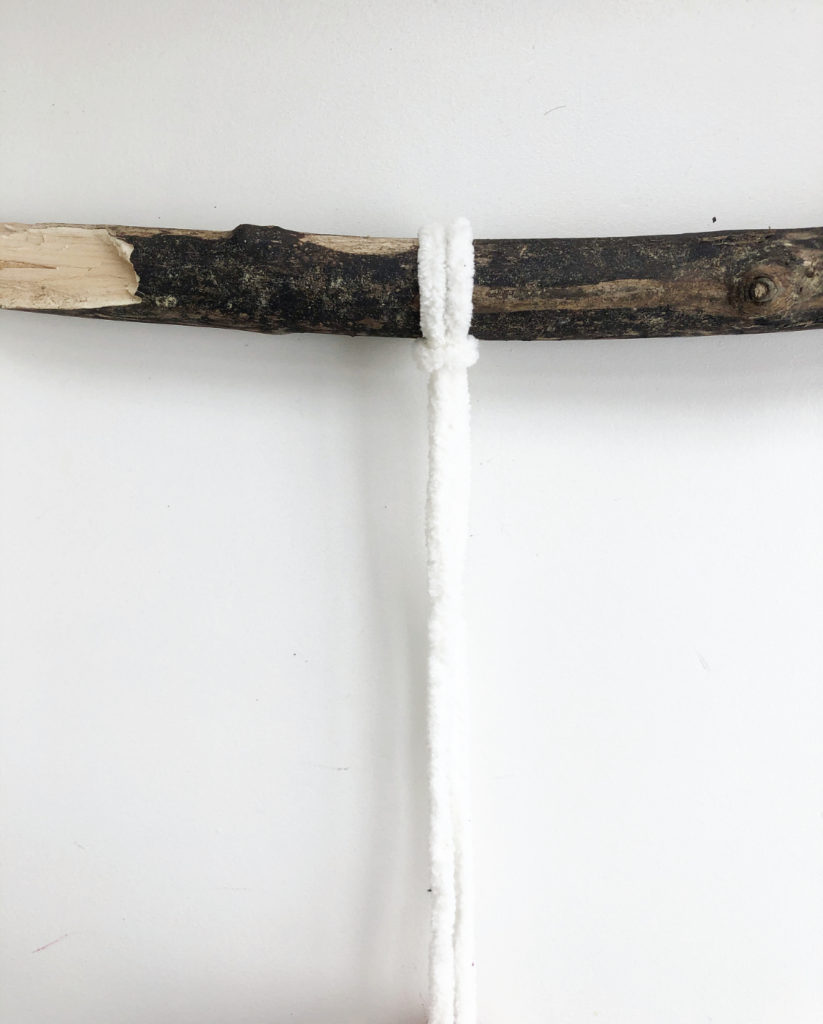
Sometimes it’s easier to prop each end of your stick up on two ends of a chair – it just makes it easier to maneuver a little more quickly. Then just keep going! This took me less than an hour to attach all my yarn.
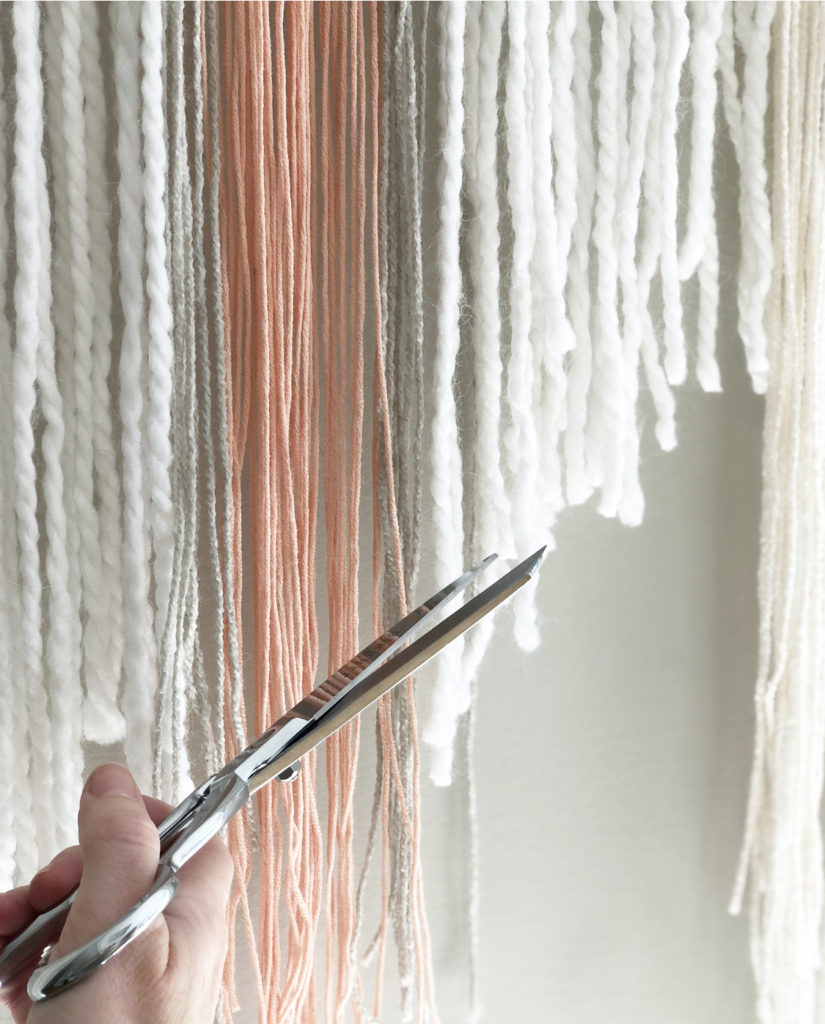
Hang And Shape Your Tapestry
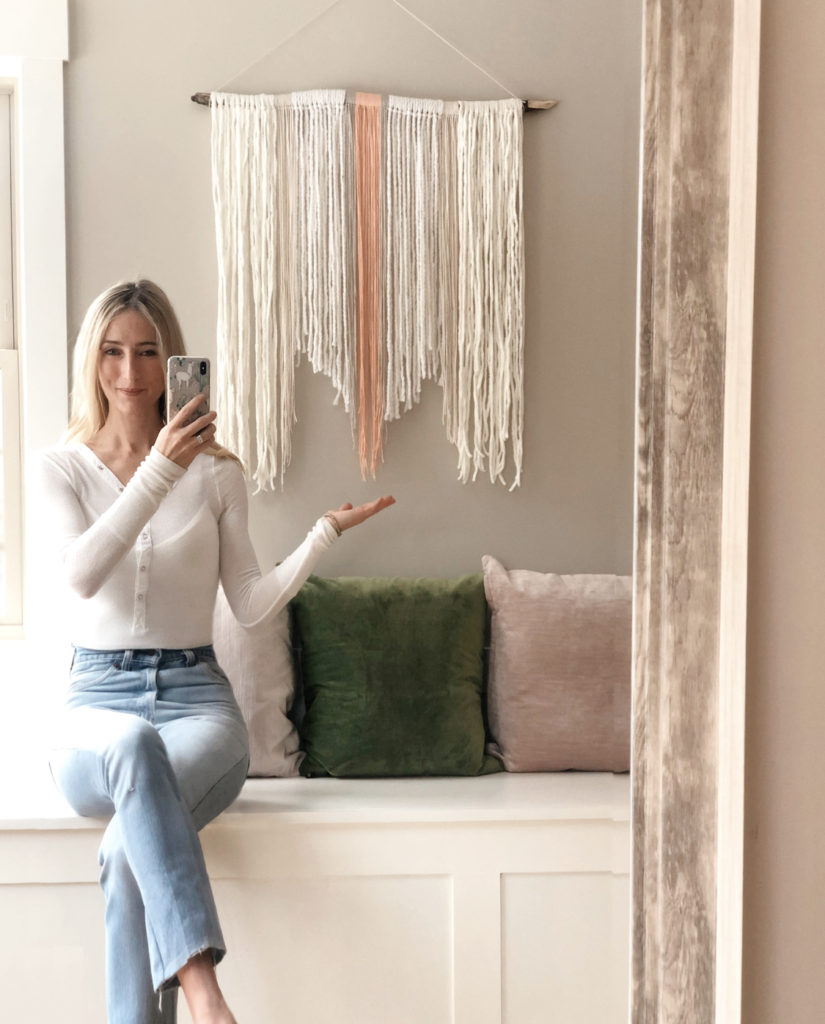
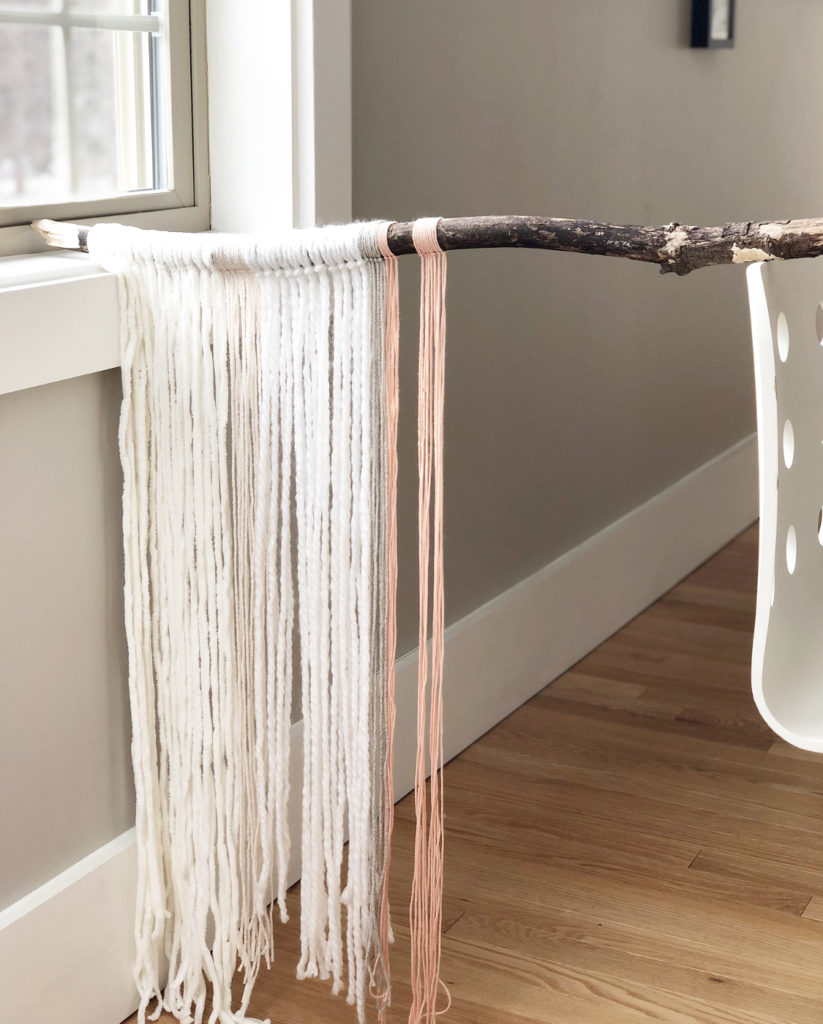
Ok, all the yarn is attached, so hang it up and see your great work! Now it’s time for the finishing touch – shaping your wall hanging. Since my yarn lengths ended up being all over the place, I decided to go with a jagged edged bottom, with a variety of different lengths.
I took my scissors and started shaping the ends.

Voila!
You’ve created your very own bohemian wall tapestry! Hang it up and enjoy your fun, whimsical work! For me, I was making this wall hanging for my own home studio space, and that’s exactly where she rests.