Cookies that Coast
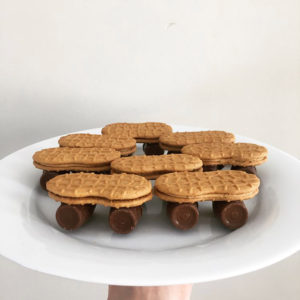
If you have a little skateboarding enthusiast (or just feel like getting creative and having some fun with a dessert) – then this post is for you! These “cookies that coast” are fun, quick and easy…and your kids can help too!
The other day my seven year old asked if I could make these cuties again. It had been a while since I last made them, I almost forgot all about them. But the recipe is so fast and simple, I happily obliged. Off to the grocery store I went. Keep reading for the step by step instructions and bring some smiles to the dessert table tonight!
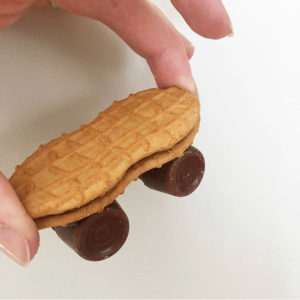
Step 1
Buy and gather ingredients. So here’s what you need:
- Nutter Butter cookies (If there’s a peanut allergy to consider, there a several other cookie options with similar shapes you can buy, in both vanilla and chocolate)
- Rolos candies
- Chocolate chips
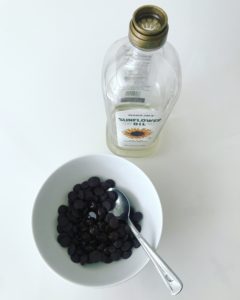
- A cooking oil (I prefer sunflower oil)
- A small microwavable dish
- A plate or platter

Step 2
Prep your skateboard decks (Nutter Butters) and wheels (Rolos). Unwrap a fair amount of Rolos to use as your wheels. Go ahead and eat one or two, it’s totally fine.

Step 3
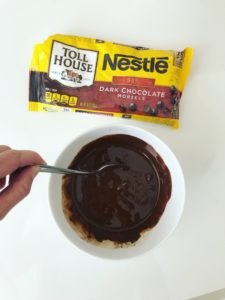
Prep your chocolate “paste”. Fill the microwavable dish with a handful of chocolate chips. Then add 1 tablespoon of oil and microwave for about 1 1/2 minutes – until almost melted. Take the dish out and start stirring it all together and the rest will start to melt and blend together (Be careful, as the dish might be hot when you take out).
Step 4
Assemble all the parts. Start adding the wheels (Rolos) to your decks (Nutter Butters). I like to take a Rolo and gently dip one side into the melted chocolate. You just need a little bit. Then bring that Rolo wheel over to your Nutter Butter deck and place it down. It will stay in place. Just continue adding your Rolo wheels and make as many as you like!
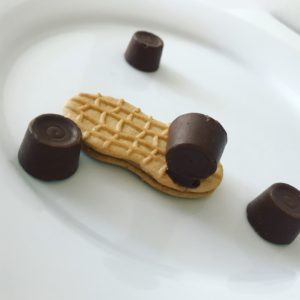
Step 5
Let dry. You want to let the melted chocolate solidly so it will firmly hold the Rolo wheels in place. You can let sit out on a counter for about an hour; or to speed things up you can place in the fridge. Keep the cookies in the same position to dry – don’t turn them right side up. You can do that once they are completely dry.
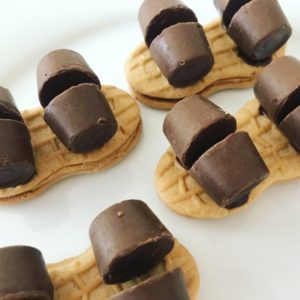
Step 6
Voila! You have cute little skateboard cookies! Kids and adults alike will get a kick out of them!

I’m grateful these three still adore fun things I create for them. They appreciate it and think it’s the best! Soon they will be all grown up, and they will either be too cool for all that stuff, or off to college and out on their own. I’m soaking all this in while I can!