It’s Time We Had A Little Chat About The Bees And The Bees
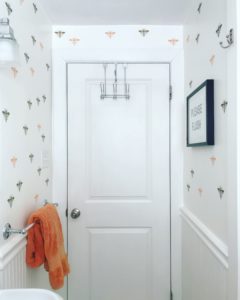
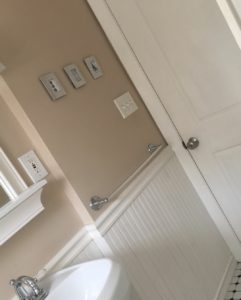
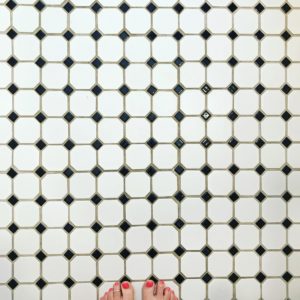
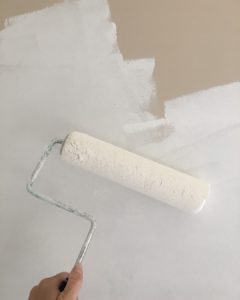
Our home is an adorable 1950’s cape style house with so much character. When we first moved in, it totally needed work. We cosmetically touched up every room, but we took it up a notch with first floor bathroom – it needed a much bigger facelift. We kept the original black and white tile on the floor, but pretty much redid every else. We added new fixtures, beadboard and painted the walls a taupe color. I chose taupe because it was safe for me and I felt it complimented many other colors. Years went by and I grew tired of the wall color, as we all do.
Then I became obsessed with the color white! Sounds boring maybe, right? But I love how clean and light it made spaces look and how easily you can add your own “spark” to it. Wall decals came to mind immediately, so I turned to good old Etsy for more inspiration. I had used the Etsy shop Ohongs Design Studio once before to revamp our stair hall. This was the first space I actually painted all white and added a pop of color using arrow decals from this shop.
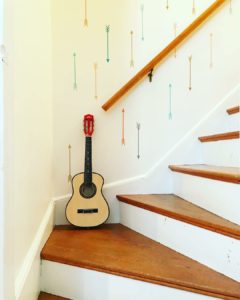
I just loved everything about the shop owner and her products. She designs really unique wall decals that are easy to use, with clear directions, and the color options are beautiful.
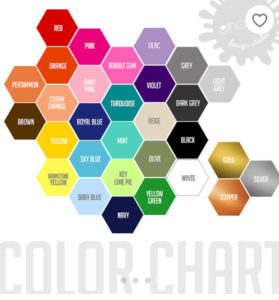
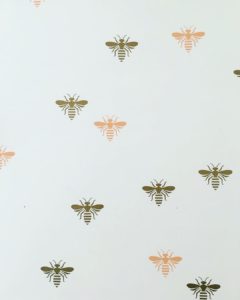
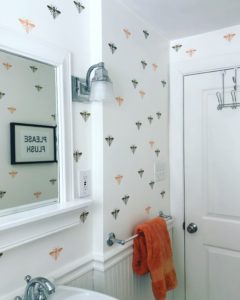
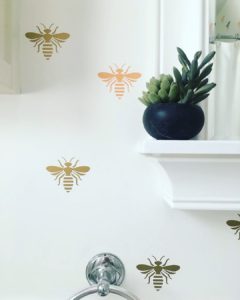
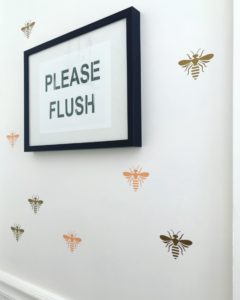
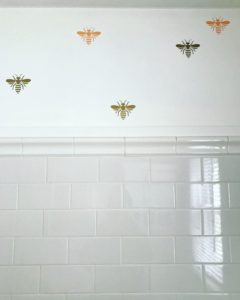
It was hard to narrow down what image and theme I wanted to use, because they were all so great. I ended up choosing these adorable bees to play off the existing black and white honeycomb tile. I thought it would tie things together nicely – and I was not disappointed! I chose the salmon and gold colors, which I felt would add just enough pop against the white walls and black and white floor.
How It All Came Together
Once I had the walls painted white, I grabbed some post it notes to layout exactly how I would like the bee decals spaced. I didn’t want them completely equi-distant from each other. I wanted it to be a “controlled scattered” look, to make things more interesting.
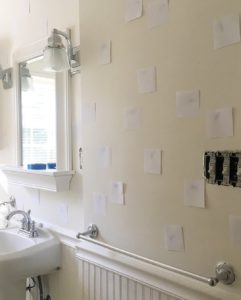
I then followed the simple, straight forward instructions to apply each decal. Now it may sound tedious and time consuming, but I gave myself a couple of days to plug away at it in between kids schedules and LIFE. I’d say all and all, the decal application was about a solid 2 hour job for my size bathroom. I applied about 90 bees.
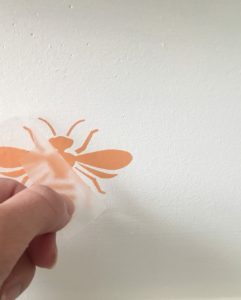
And Voila!
We have a refreshed, facelifted bathroom! The entire space looks clean, modern and fun – exactly what I wanted. And the best part? This project was under $100! You just need a can of paint, your decals and your creative motivation!

I’m grateful there’s so many creative people out there in the world who make such unique products! There is so much talent out there.